Tuesday, May 27, 2014

Top 5 Reasons to Cook in Cast Iron {GIVEAWAY}

This giveaway is now closed

Do you use cast iron cookware? I have one cast iron pan that I absolutely love, and use every chance I get! I'm hoping to up my collection, and I've been eyeing a few pieces that belong to my grandmother.

Aside from making you feel like a pioneer in the kitchen there are many benefits to using cast iron like:

1. Naturally non-stick- I love that food just slides out of my cast iron pan. And on the occasions that something does stick it's usually my fault. Like I didn't let the pan heat up all the way or I burnt what ever I was cooking!

2. Cooks food evenly- These pans are excellent at evenly distributing heat so you can be guaranteed nice even cooking.

3. Easy to clean- I love that my cast iron is easy to clean. Even if I have to scrub a smidge it's no where like my other pans. Even though it's heavier than my others, easy cleaning makes it my go to pan.

4. Versatility- What's better than being able to go from cook top to oven? Or what about camping? Cast iron is really able to be used in any cooking situation, stove top, oven, grill, or even camp fire. When we went camping recently I brought my cast iron skillet and we used it for every meal.

5. It adds iron to your food- This is definitely one of my favorite added benefits. Using cast iron actually adds much needed iron to your food. During my most recent pregnancy I struggled with iron deficiency and one of the first things my midwife told me was, "use your cast iron pan to cook EVERYTHING".

Well, enough of my ode to cast iron, how about a giveaway?!? We were so completely blown away by the welcome and love people showed us through comments, and facebook page likes! So we decided to do a giveaway to show our appreciation. The blog has only been up and running for a short amount of time but we've already made some new friends, which is really exciting to us!

So without further ado, I present to you the Lodge Double Dutch Oven and Casserole with Skillet Cover. Not only is this a great dutch oven, but the lid doubles as a skillet! Umm I wish I could win this! 


a Rafflecopter giveaway

Sunday, May 25, 2014

Keep These Bugs Off Of Me!


So it happened.

One of my kids got bit by tick. Ok, to a seasoned homesteader this may not be a big deal.

But we live in the city and I have NEVER in all my life been bitten by a tick. NEVER.

I've never even seen one. My husband, who is even more of a city slicker than I am, was the one who found it. I was in the kitchen and he sort of calmly yells out to me, "come here quick!" So I come into the living room like what happened? And he shows it to me.

In case there are some of you who have also never experienced this, let me tell you a little about it.

THERE WAS A BUG WITH IT'S HEAD IN MY KID!

As I try to act all calm, I instruct my husband not to bother it. Because I had just recently seen how using essential oils would make it back out. His reply? "I'm not letting this thing go all the way inside her!" Again, we have never dealt with ticks before lol.

I found online that putting some peppermint EO on it will make it back out. So I do that and we watch. It starts backing out and then my darling husband was like that's it, I'm getting this thing. So he tugs it out. He had to tug a lot harder than either of us expected! But praise the Lord she is fine and now we know what to do next time... please Lord don't let there be a next time

There will probably be a next time, huh?

In order to be proactive about this, especially since we plan to spend a good amount of time out doors. I scoured the internet looking for some advice on a DIY repellent. I found a list of essential oils to choose from and I have... none of them. But I do have a blend that is called Plague Rescue (clove, lemon, eucalyptus, cinnamon, and rosemary) and that will have to do for now.

Apparently the cinnamon will help with mosquitoes, and the eucalyptus will help with ticks. Clove and rosemary are also supposed to be good at repelling insects. So I figure I can't loose, right?

So here is my recipe for an 8oz bottle:
4oz Water
4oz Witch Hazel
20-30 drops of Plague Rescue (same as Thieves or OnGuard)

In case you are wondering where I get my oils from I have a very dear friend that bottles oils straight from the distiller. I like that I'm helping her business AND that I'm avoiding multilevel marketing. Which I'm really not a huge fan of. If you'd like info about her company please e-mail me, or leave me a comment with your email, and I'd be happy to share the info with you. (trying to avoid spam here)

So what about you? Do you have a plan to keep bugs away this spring and summer?

I'm linking up at: Mostly Homemade Monday, Mountain Woman Rendezvous , HomeAcre Hop, Homemaking Link Up

Thursday, May 22, 2014

Easy Fermented Carrots


A few months ago I discovered the joy of fermenting vegetables! 

What prompted my journey to fermenting pretty much everything, is that my second born has eczema. I didn't want to use steroid creams on her so we began our search for how to heal her naturally. Something I learned along the way is that her eczema is a result of a leaky gut. So we've been trying to fix it. 

Leaky gut put very, very, simply is when your intestines are too porous. When this happens food "particles" are allowed to enter the blood stream. Now I'm not talking chunks of food but more like microscopic particles. These "particles" then cause our body to attack them. This leads to food sensitivities, and allergies. Eczema is the result of the skin trying to eliminate the toxins.

Having the right amount of good bacteria in our guts will aid in proper digestion and help with the gut issues. But in addition to that you need to heal the gut. So eating probiotic rich foods is only part of the solution. As a result of all this we've been introducing more and more fermented foods to our diet. We started with fermented carrots and then moved to kombucha, sour dough, and pickles. Actually those are the only things I was successful with. I've tried other things too lol.. Although I wish my baby didn't have these issues, it's been awesome learning about all theses things. 

Ok now for how we actually do it. I make carrot slices using a mandolin. I've done sticks before, and everyone liked them except for the little girl who needed to be eating them the most! Since I switched to slices she likes them way better. So for those with picky eaters, try slices. 


Then I let the girls put the slices in a jar. I've found that when they help they are more likely to eat it, especially when it's something new. 


Then I pour salt water over the carrots and covered them. I use 1 teaspoon of salt for this 8oz jar of carrots. I use the plastic to keep the carrots below the liquid, and to keep unwanted things out. If it's not below the liquid, you up your chances for developing mold.


Once I get everything finished up I set it on top of my fridge (only because I need it away from my other ferments) for 3 days. After that they are ready to eat and/or refrigerate. 

You can play around with the flavors and add herbs. Our favorite so far is garlic carrots. Adding dill is on my things to try list though. 

What about you? Do you ferment any vegetables?


Monday, May 19, 2014

Stop Making Excuses and Make Butter!


Ok, I am really guilty of watching youtube videos on homesteading skills and dreaming about someday. But why dream about someday when you can live it today??? So I decided to do just that, and go on ahead and make myself some butter!

At first I was nervous. Because in the past I attempted to make goat cheese and it was an epic fail! But I was determined this time to get it done and get it done right.

After watching a few videos I realized I really didn't have the equipment necessary (like a standing mixer) and I got a little disheartened, But then I remember, that my Magic Bullet has a whipping blade. So I poured a pint of whipping cream in the bullet cup, added the whipping base, and blended away.


Initially it was just moving like regular, which gave me whipped cream. But then it started to gain speed and I eventually saw the butter milk separate from the butter solids! Hooray! Now we're in business. I let it go a little longer just to make sure I got it good and churned.


Then I strained it, washed it, and salted it!


Can I just tell you this stuff is GOOD! Like beyond good. Store bough butter can't hold a candle to it! If you are buying store bought butter do yourself a favor and STOP! It's so easy to make your own and it tastes way better. I bet it would have been even better if I had raw milk... someday.

My next goal is to make goat butter. It's a little harder to get the cream from the milk with goat milk, and none of my local stores carry heavy goat cream. But I am bound and determined to make this happen!

So what are you waiting to try that you can get to working on today??

I'm linking up with: Homestead Barn Hop, Mostly Homemade Monday, Backyard Farming Connection Hop, We Did It Wednesday, Down Home Blog Hop, Mountain Woman RendevousFront Porch Fridays, The HomeAcre Blog Hop, From The Farm, Farmgirl Friday, Simple Life Sunday, From The Farm

Sunday, May 18, 2014

Fast Food Hack


Ok maybe you are one of those amazing people who gave up fast food never to look back. I am not that person. Now granted my family and I pretty much never frequent these establishments but that doesn't mean I don't get a craving for some bad for me yumminess.

Since I don't want to eat frankenfoods I figured out a solution... Remake what I like AT HOME! It's really not hard, you just find the things you need to create the flavors you like. One of our favorite hacks is McDonald's big macs. As a kid this sandwich was on my schools hot lunch menu. So I have had a long relationship with the big mac. Once I figured out how to remake them at home I was hooked!

You start out with a pretty straight forward double decker burger. You can use the bottom portion of a bun for the middle bread, or you can skip it all together! The only part of this that isn't self explanatory is the sauce. For that you will need:

3 tbsp Mayo

2 tsp yellow mustard

2 tsp sweet relish

1 tsp paprika, and dash of white vinegar

stir :o)


That's it! Super simple. After you make your sauce you just add it on top of your burger and enjoy. I hope this saves you from making a trip to McDonalds!

Are you a fast food junkie or have yo given it the boot?

I'm linking up with: Mostly Homemade Mondays


Thursday, May 15, 2014

Momma's Milk Enhancing Smoothie


Three months ago our family grew by two feet! I gave birth, at home, to a beautiful 9lb baby boy. For the first month and a half my milk was amazing. But I started to notice some dry spells. Thankfully my baby boy's weight wasn't affected but if I hadn't of caught it who knows what could have happened!

As soon as I noticed the drop in my milk I set to google to find what I could use to up my milk supply. I found a plethora of recipes for things like lactation cookies, bars, and shakes. But they almost all had ingredients that I didn't have. So I decided to research herbs and foods that help to increase your milk supply. There were three things on the list I actually had: oatmeal (old fashion oats), flaxseed, and alfalfa. So I decided to make a smoothie with them!

This smoothie has been such a blessing because not only is it a great milk booster, it's also delicious! If you're not a nursing momma this smoothie would still be great to drink because it is jam packed with vitamins and essential nutrients!

Blueberry Muffin Smoothie
1/3 c old fashion oats
2 tbsp alfalfa
2 tbsp flaxseed
3/4-1 c milk (any kind of milk)
hand full of blueberries
1 tsp vanilla extract (optional)
sweetener of choice to taste

Edit to add: I put the oats, alfalfa, and flaxseed all in the blender first. Then once that was grounded up nicely I added everything else.


But we were gentle in your midst, like a nursing mother warmly loving her own children. - 1 Thessalonians 2:7


Tuesday, May 6, 2014

Live Your Homesteading Dreams Today


There is a post floating around from GNOWFLINGS about the heart of homesteading. This article really spoke to me because it's exactly the mentality that we have adopted. We don't have any semblance of a traditional homestead around here. We live in a big city, in a multi-family house, and share a backyard with other families. We can't plant outdoors, and we have no animals. But we have a homestead none the less!

It's not about all those things. I mean I guess it is in a way, but if you don't have them it doesn't mean you can't start to build with what you've got. In this post I want to just share with you some of the things that we do around our homestead to help us prepare for living out our dreams, while we enjoy where we are.

1.) We cook from scratch. I do my very best to make as many wholesome home cooked meals as possible. We do occasionally order Chinese or something but it is a rare treat and it's become even more of a rarity as of late. I'm also attempting to learn to cook in season.

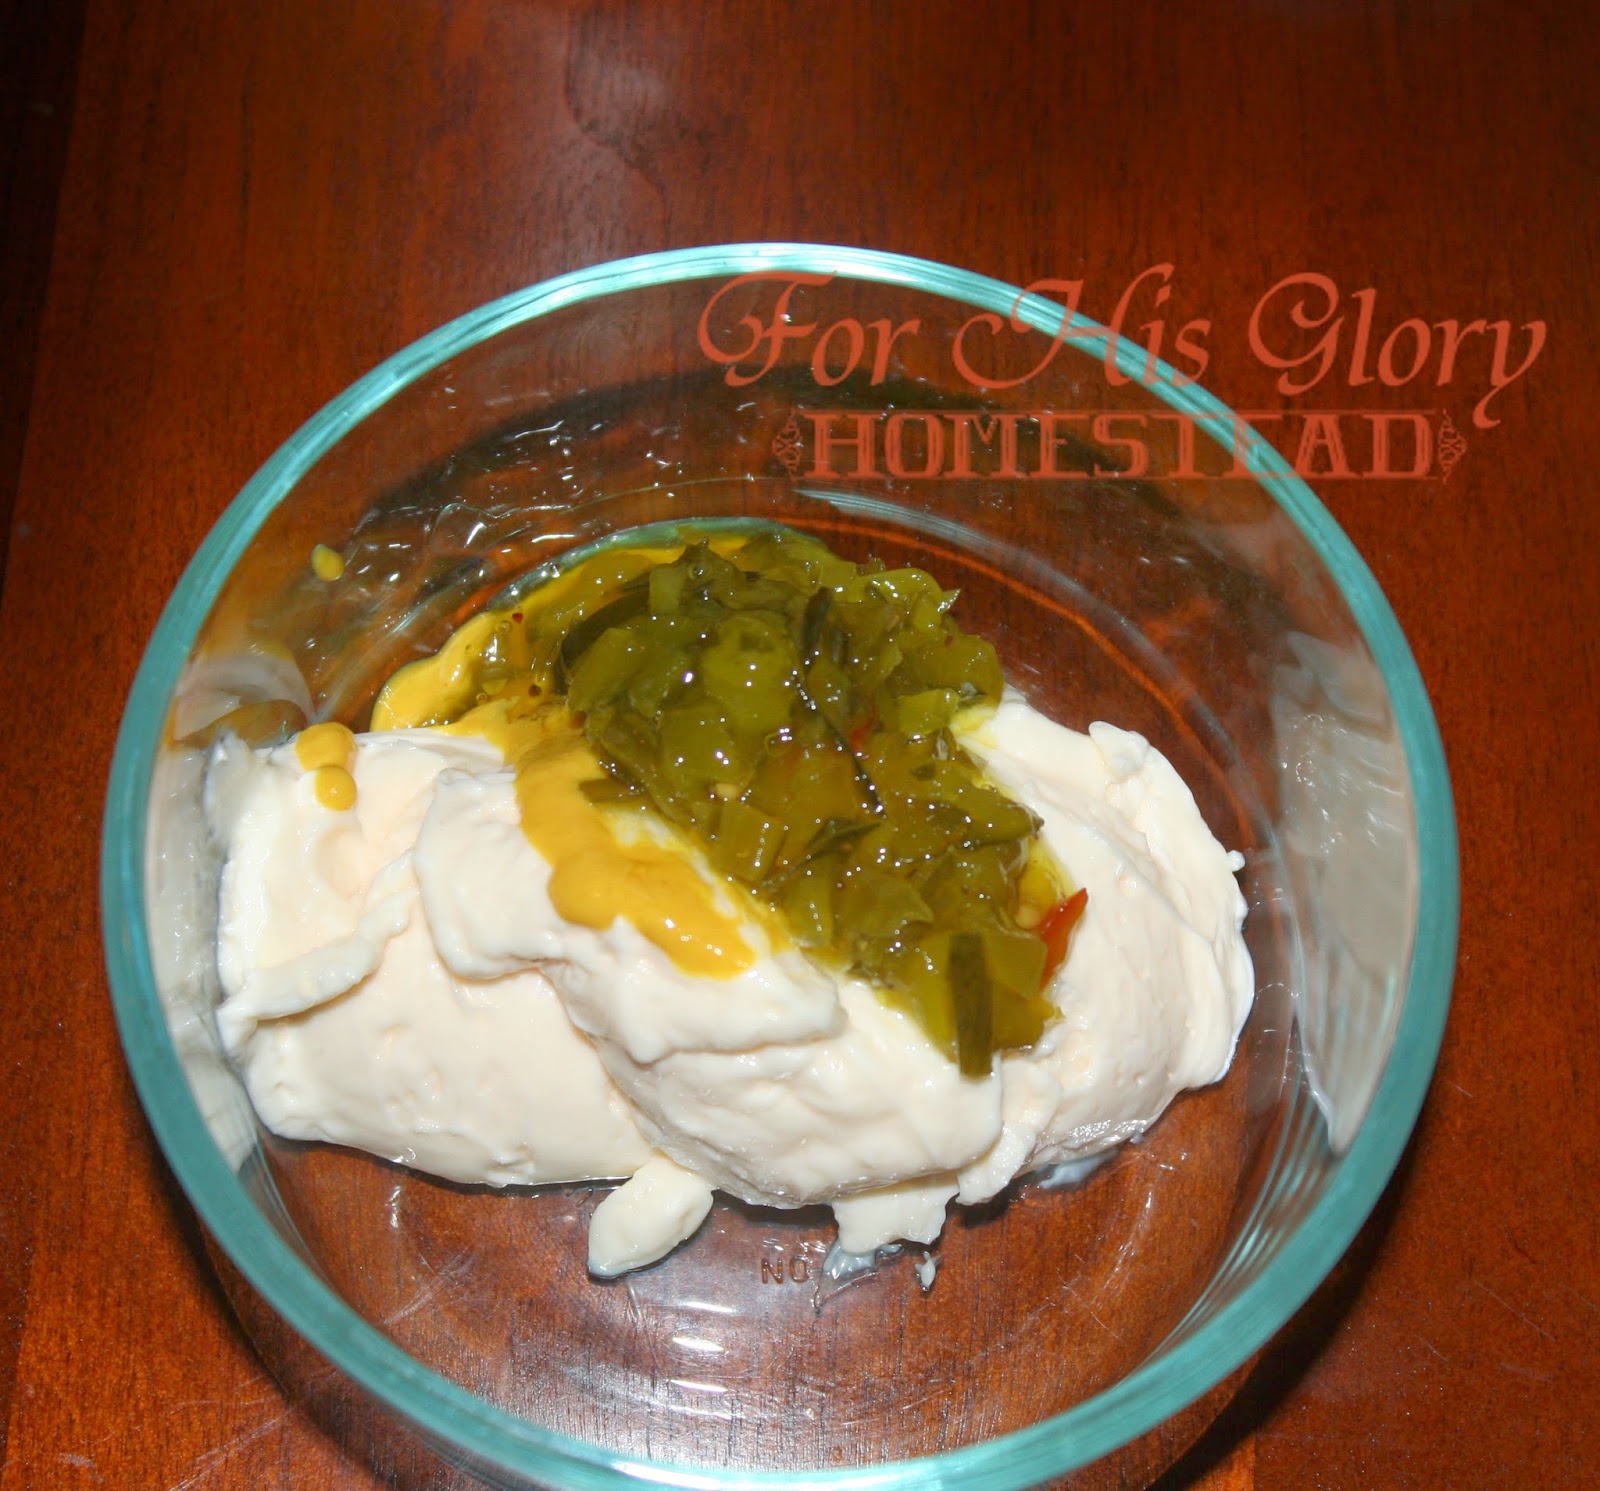
2.) We take the time to ferment anything that we can. We do this for a few reasons, but the main one is that it's healthy for us. I'm teaching my children now about how to make sour dough, ferment vegetables, and  
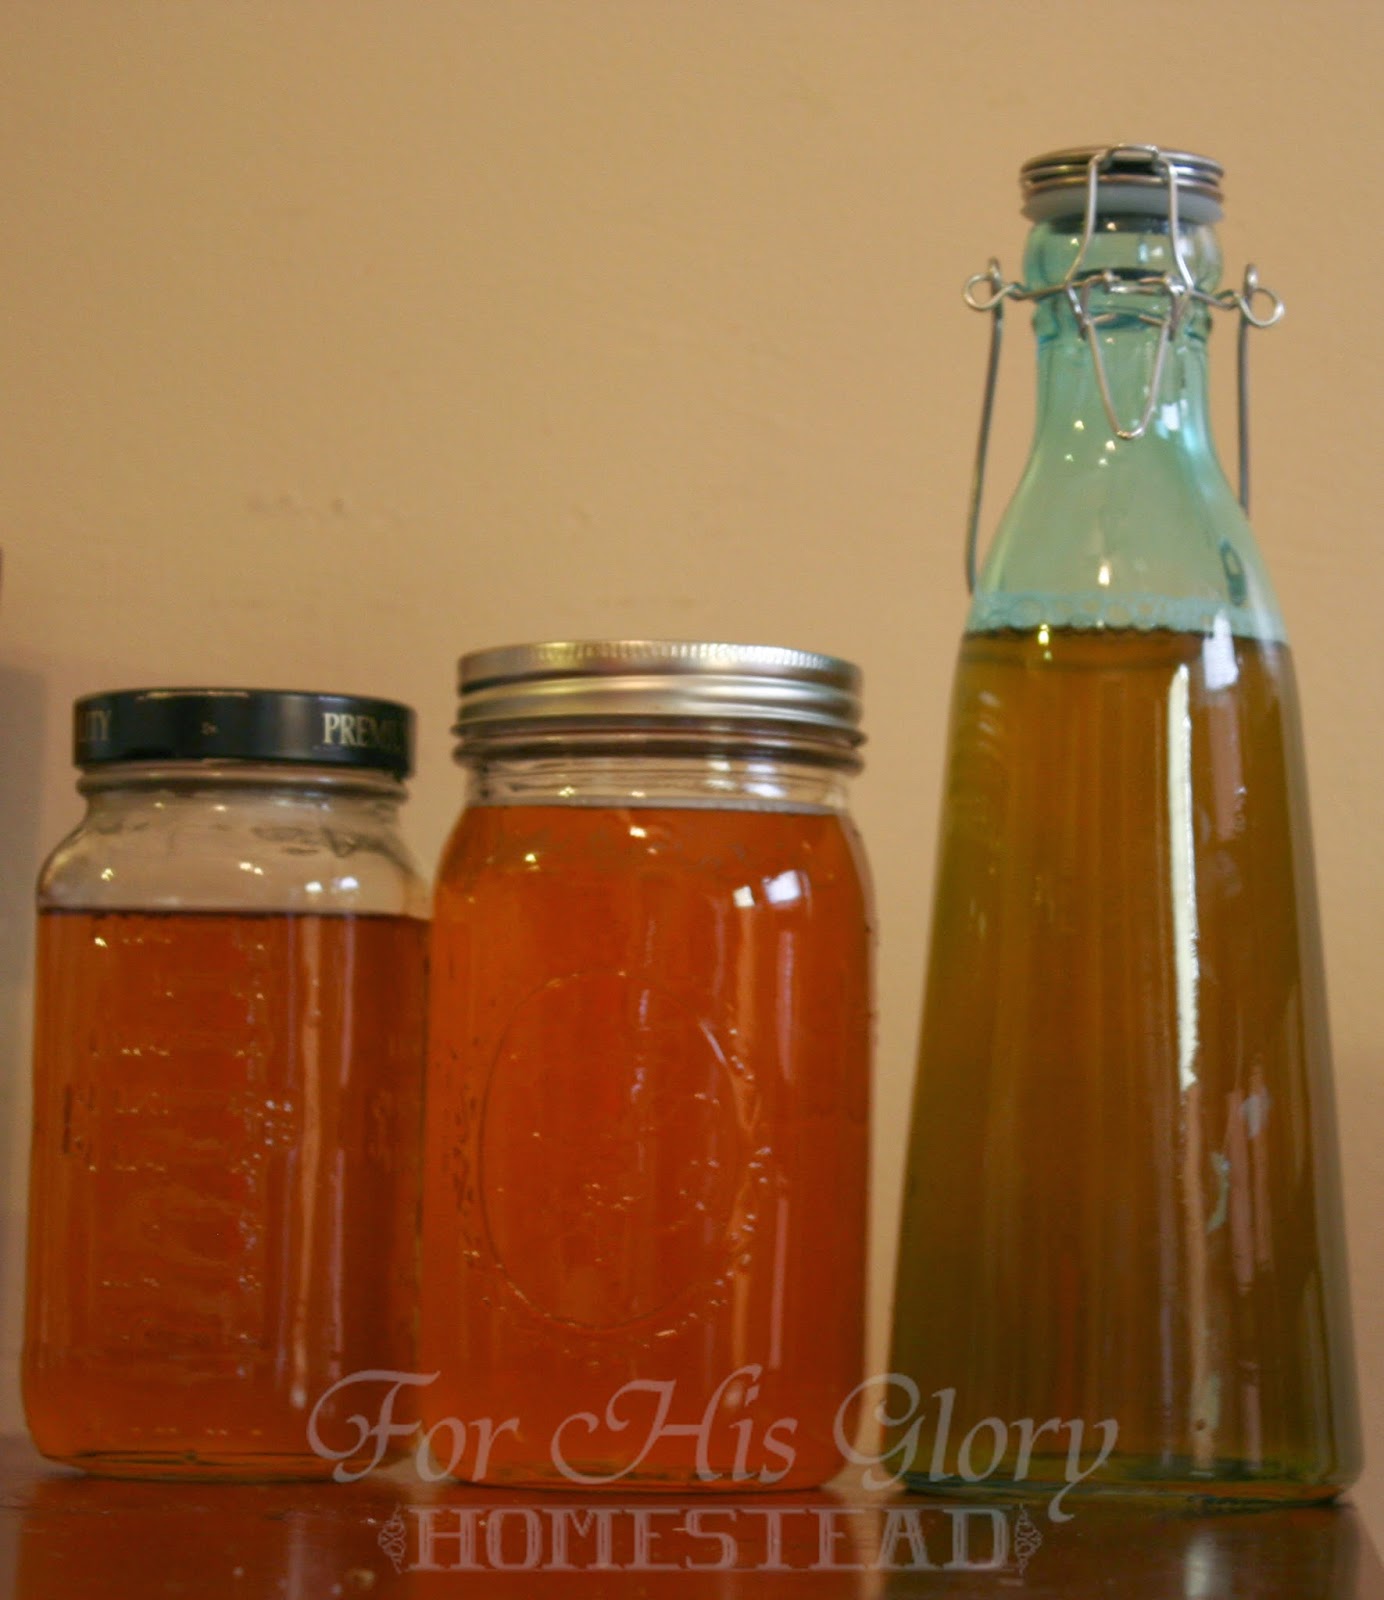
make kombucha. We are also in the process of learning how to ferment fruits and fruit juices. It can be time consuming but it's totally worth it for the health benefits and the memory building. The reason this is on the homesteading list is because this is a great method for preserving certain foods. One of our favorites is fermented carrots.

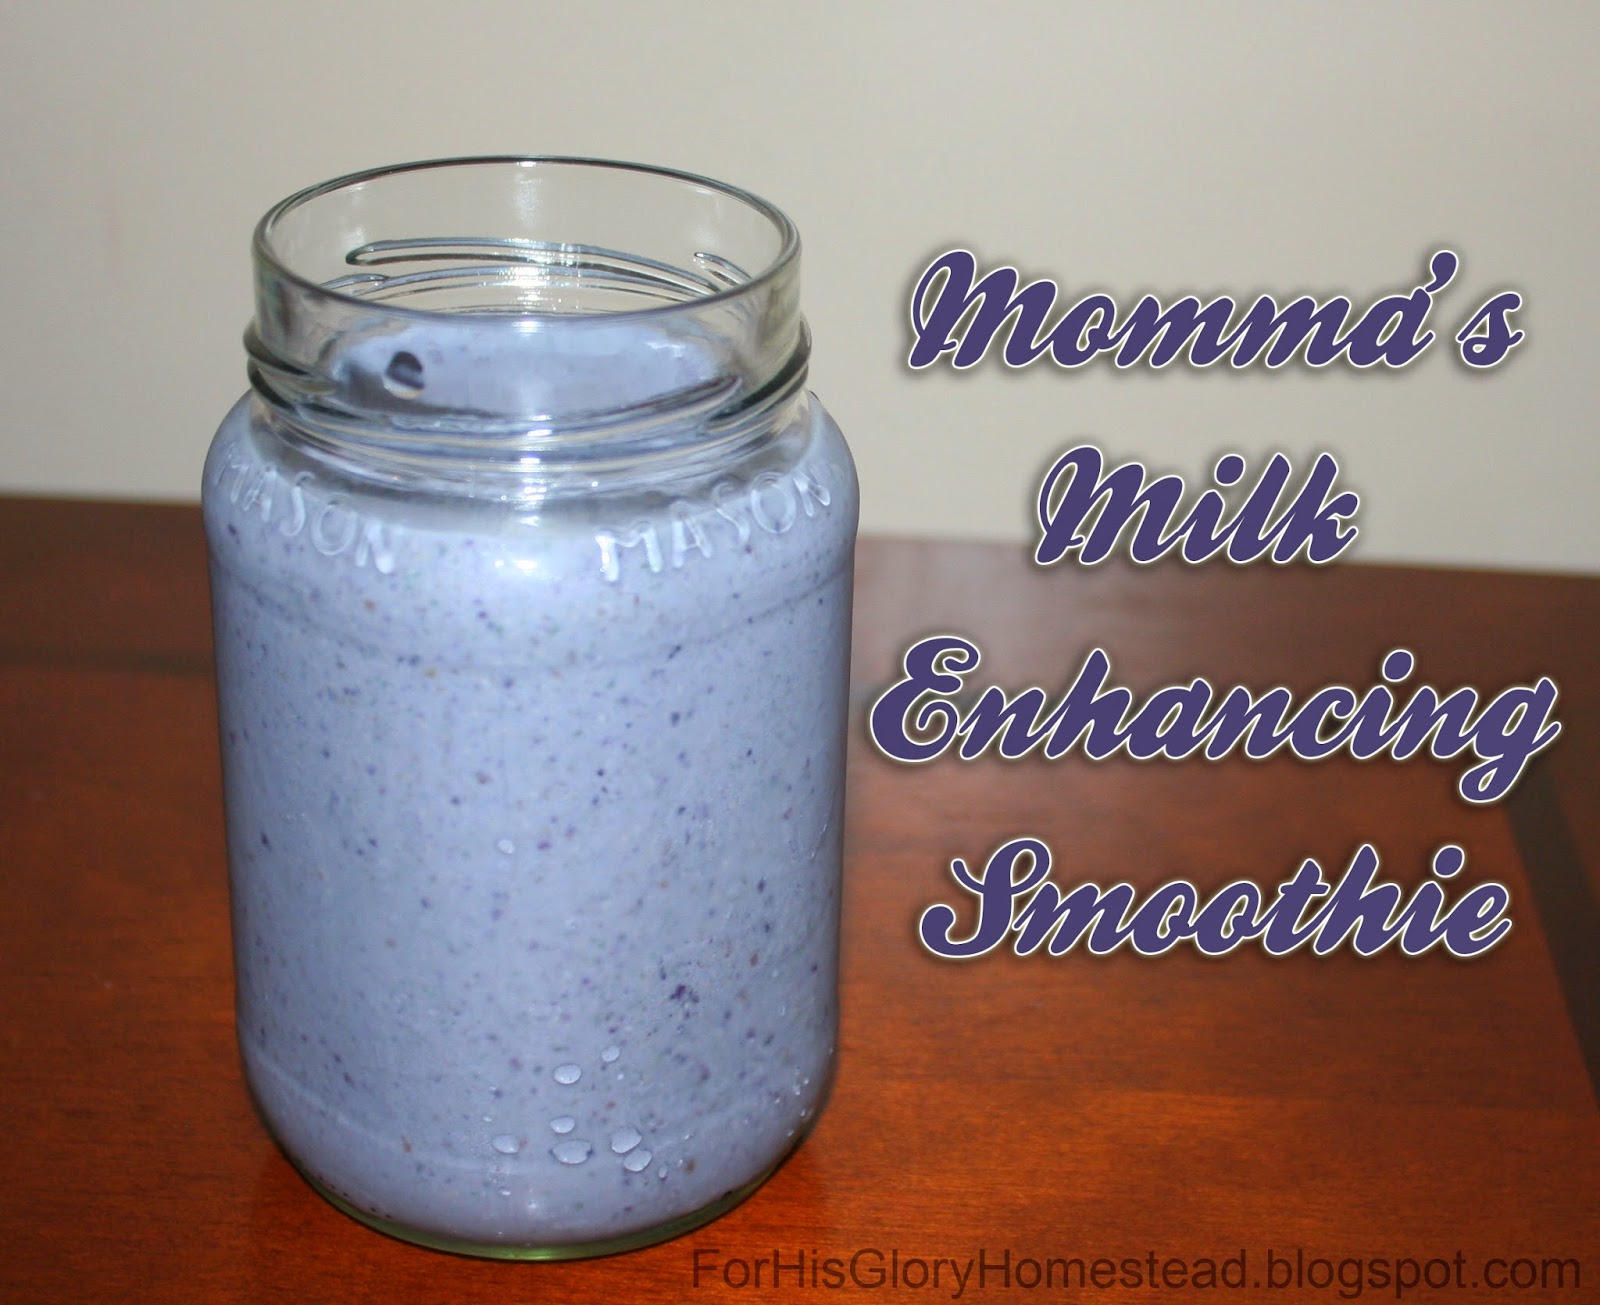
3.) We learn about animals and any other skills that go along with having them. This is so we can learn as much as we can now and be ready when the time comes. We've been reading what ever we can get our hands on, and watching videos on youtube about the animals we are most interested in. Which are chickens and goats. At first Farmer-man thought I was losing it, but now he's seeing the value (and cuteness) of goats. Recently I tried to make cheese from goat milk. It was an epic failure but hey, at least I tried!

4.) We limit tv time. If we lived out in the country I would hope that my kids spent their days running around out side. But just because we don't it's not an excuse to spend all day in front of the tv. We don't have cable but we do have netflix, and hulu. We're in the process of deciding which to get rid of. Because we really don't need both if we aren't watching much tv anyway.

5.) We're learning that it's ok to get dirty. Now this one may be more for me than anyone else but I get a little anxious when my kids have dirt on them. But I'm learning that it's not only ok, it's good for them. It's so important for kids to play outside and to dig in the dirt. In the past I would have been content for my kids to sit on the couch dressed all pretty and just smile lol. But not anymore. Now I encourage them to play and dig and get dirty if they so please.

6.) We decorate with some "farm house" flare. Now this is something we're still working on. But one of my favorite things is my mason jar soap dispenser! I hate washing dishes by hand but getting soap from my mason jar makes it slightly more enjoyable! Oh any my cast iron skillet! Love that thing. Call me crazy but sometimes we just need to have the little things around to keep us happy. :o) (check out our pinterest board for some more examples of indoor farmy things)

7.) I wear an apron! Ok now this may seem like nothing, but let me tell you it totally helps me to get into a working mindset. I'm not talking any ol' apron though it needs to be one that makes YOU feel really "farmy". Mine is denim and has some eyelet fabric along the topsides. It's perfect for me. Don't under estimate the power of an apron ;o)

8.) We try to buy locally. When we can, we buy things that have been grown locally because it helps us with eating in season and also helps us to stay connected to the land. Getting our foods from the source is a real blessing, it allows us to ask questions and learn even more about farming. Of course, if you can have a garden then get to planting


This post was shared on: Homestead Barn Hop, Farmgirl Friday, From the FarmThe HomeAcre Hop, Simple Life Sunday

Thursday, May 1, 2014

Kombucha! Part 2


Ok so now that my scoby was moved to a gallon size jar the waiting began! We left for a week long camping trip and when we came back this is what I found:


Wahoo!!! It worked! After posting pictures on facebook and asking my other kombucha brewing friends what they thought, I decided to go ahead and brew my first batch using the larger scoby on top. 

I boiled 3 quarts of tea (12 cups) and added 1 cup of sugar. Then once it was cooled I added the new scoby along with 2 cups of the liquid is was growing in. Then I covered it with a cloth and a rubber-band and set it back in the dark corner of my counter.

After a week I was able to harvest!! 


It was delicious (if you like kombucha), and I felt so accomplished! The whole process was much simpler than I thought and I am so glad I tried it! 

So what do you think, will you be giving it a try?